Showing posts with label Getting crafty. Show all posts

Friday, September 30, 2011

Shabby picture display...love it!


This is a great idea and pretty affordable too...thank you Shanty2Chic a great gift idea or just something beautiful for the home, click here for the tutorial.

Burlap rose picture frame

Thank you again Shanty2Chic for more fabulous ideas love this so much click here for the directions...happy crafting!


Monday, September 26, 2011

Easy Fall Pillow

While I called this a Fall Pillow, it could be made out of any type of fabric and altered to fit the season, or your decorating style.  Super easy...here is what I did:

Start by covering a pillow form you already have or a new pillow form with your fabric of choice.  I used a fun fall print that would coordinate with my fall colors.  Next I used about six squares of brown craft felt, cutting them in half lengthwise and scalloping one long edge that would be the outside of the flower.  I then sewed the ends together so I had one long scalloped piece of felt to create my flower out of.  From there I circled the felt around on the pillow until I liked the placement and size of the flower.  I then stitched it together and also to the front of the pillow.  I did use a bit of hot glue (yes...when you are addicted to hot glue it must be present in every project possible) to get the look just right.  I attached a fun, big button to pull the colors all together in the center and now I have a super cute pillow that I am trying to keep my kids from eating.

                                     Happy Crafting and send me pics of the pillows you come up with!

Sunday, September 25, 2011

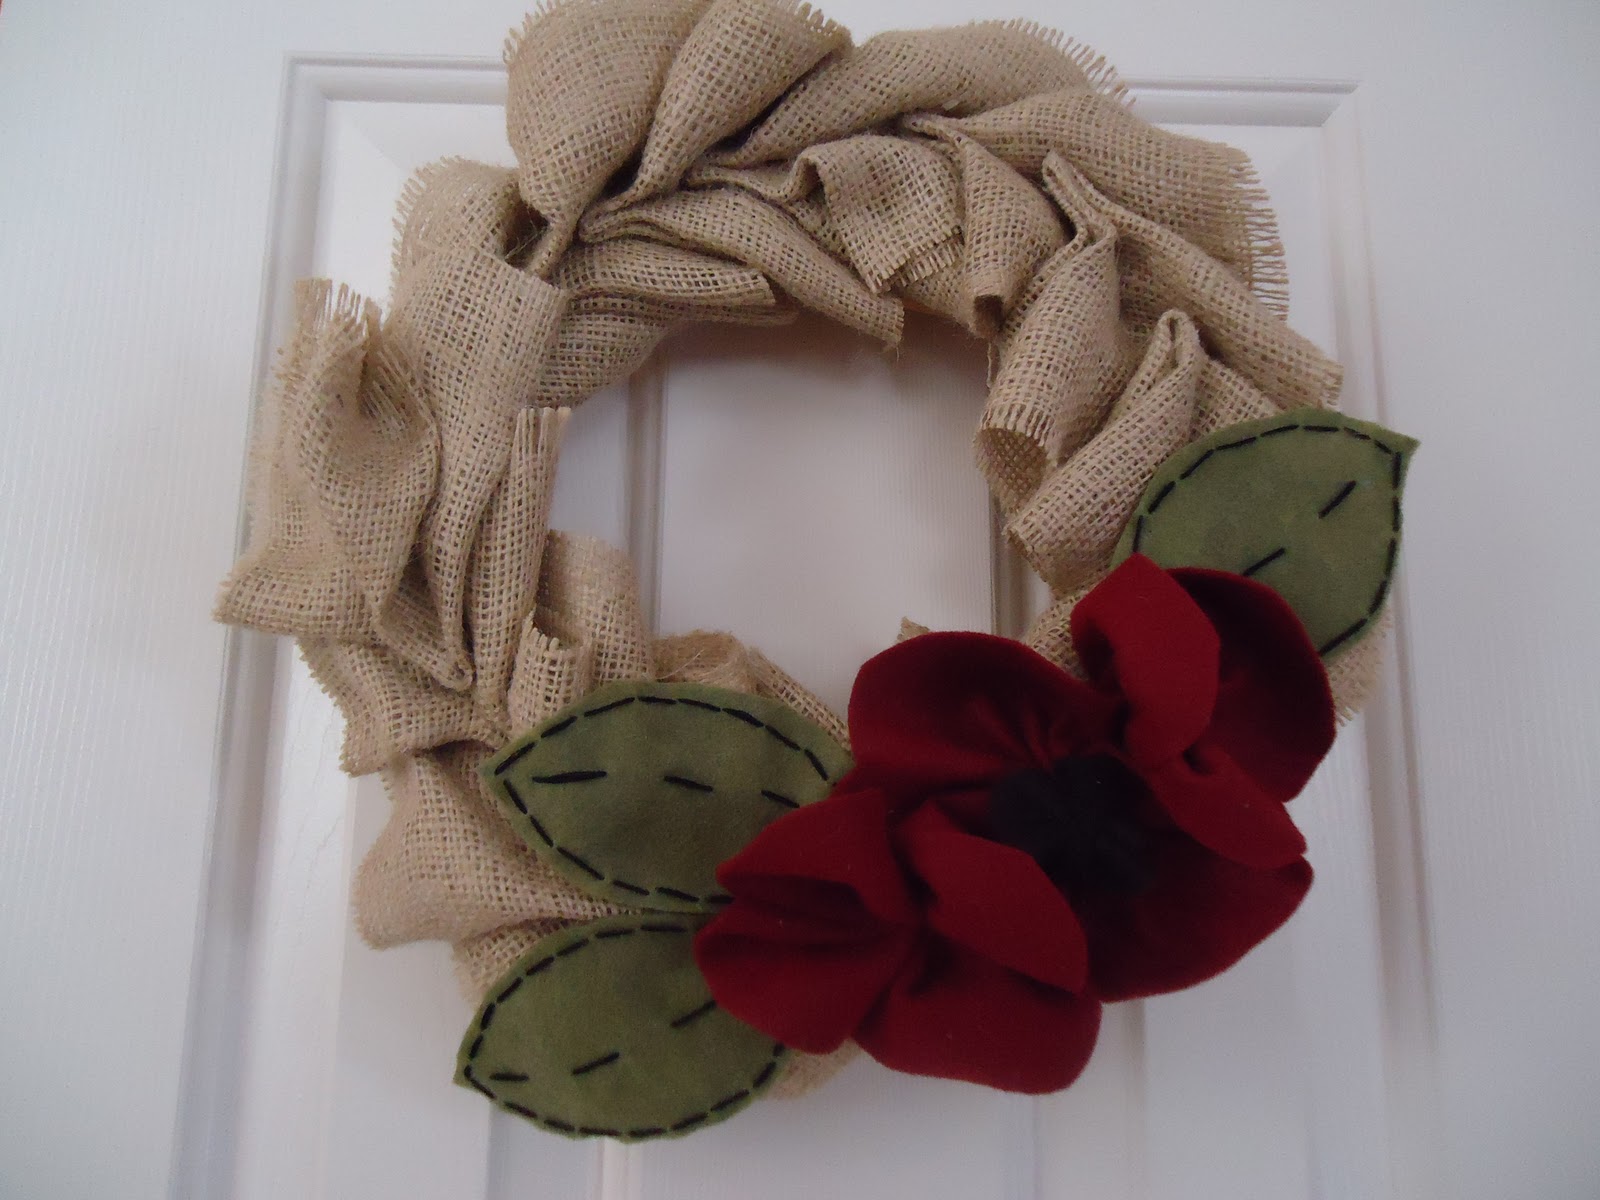
Burlap Wreath


I must admit that I am probably not as detailed as I should be in the post, while these are instructions it is not really a tutorial.  However, if you are even mildly crafty...you can make this blindfolded and while paying bills and making dinner.

1. Start out with a plain wreath, you can use grapevine, or any kind of basic wreath that you can glue the burlap to.
2. Cut about 15-20 (depending on how large your wreath is) 6" squares out of burlap.
3. Fold each square into a smaller square (in half then half again) and glue each burlap fold in a circular pattern around the wreath.
4. Decorate with any sort of pre-made Fall picks, ribbon, felt flowers and leaves (super easy to cut out and sew around the edges with black embroidery floss), raffia, with your glue gun. 
5. Glue a loop or ribbon or raffia on the back and hang to enjoy your fabulous new wreath!